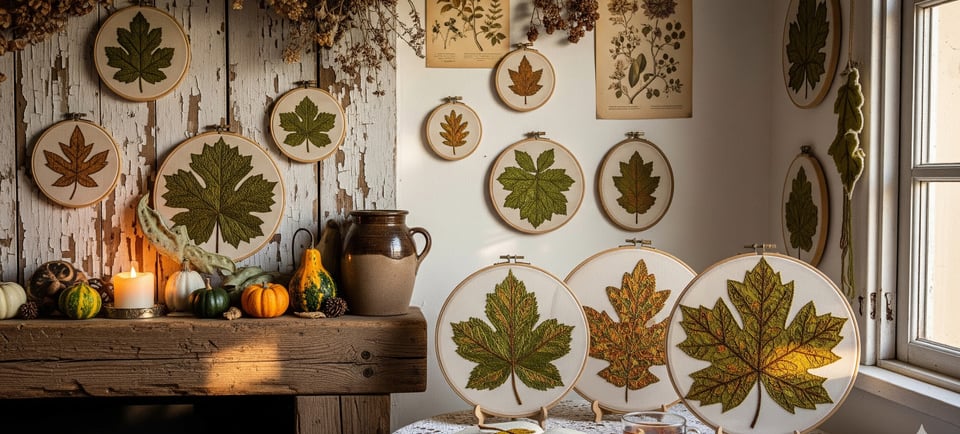
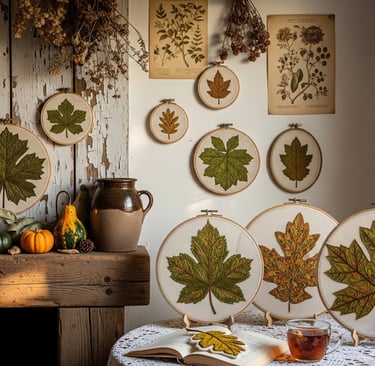
From a Single Thread: Bringing Hand-Embroidered Leaves to Life
Dive into the art of embroidery by exploring the captivating world of leaves, where every stitch captures the unique texture and shape of nature. This tactile craft offers a slow and methodical creative outlet, allowing you to build up beautiful layers of color and texture one stitch at a time. Perfect for beginners and seasoned crafters alike, embroidering leaves is a forgiving project that reminds us that true beauty lies in imperfection.
9/13/20256 min read
Have you ever looked at a plant and just been completely mesmerized by its leaves? I'm not just talking about the bright, vibrant green ones, but the ones with those delicate little veins, the ones that are a little ragged at the edge, or maybe even those that have a slight curl to them. Honestly, there's a whole universe of texture and shape in every single leaf, and that's exactly why they’re so captivating to recreate with needle and thread.
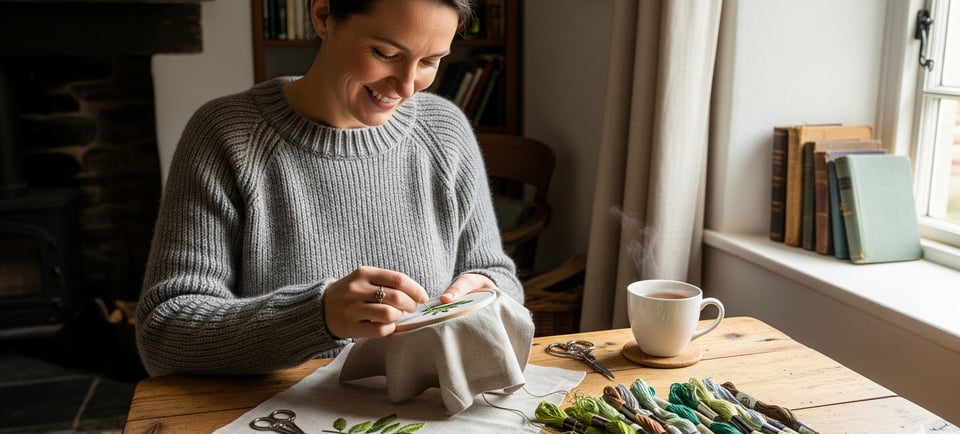
Embroidery, at its heart, is a lot like painting with a needle. But here’s the thing: unlike a brush, which can just glide over a canvas, a needle and thread work stitch by stitch, building up layers of color and texture, one little decision at a time. It’s a wonderfully tactile experience, a slow, methodical process that lets you really sink into the moment. You're not just making a picture; you're building a tiny, stitched sculpture.
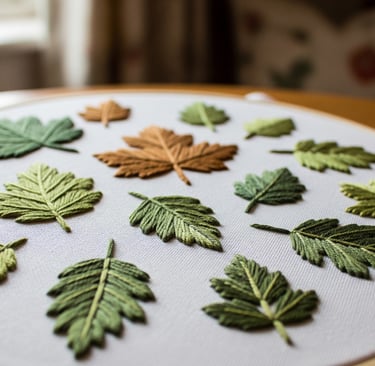
For those of us who love to get our hands on a needle and floss, embroidering a leaf is a staple. It's often one of the first things you learn after mastering a basic stitch, and for good reason. Leaves are forgiving. They aren't meant to be perfect. In fact, a slightly wonky stitch or an uneven line can actually add to the natural, organic feel of the piece. It’s a wonderful reminder that art doesn't have to be flawless to be beautiful. It's about capturing a feeling, a moment, a sense of life.
So, How Do You Start with Leaf Embroidery?
When you’re just getting started, the biggest question on your mind might be: "Do I outline the leaf or do I fill it in?" Both approaches are fantastic, and they create two completely different visual effects.
For a simple, clean look, you can create a beautiful leaf with just an outline. Think of it like a sketch, but with thread. The backstitch or split stitch works wonders here, giving you a crisp, solid line that defines the shape. You can also use a stem stitch for a more textured, rope-like line. It’s simple, elegant, and gives you a wonderful feeling of satisfaction as you watch the shape of the leaf emerge.
But let’s be real, sometimes you want to go for a lusher, more substantial look. That's when you start thinking about filled-in leaves, and that, my friend, is where the real fun begins.
Hand-Embroidered Leaves FAQs
Q: What kind of thread should I use for leaf embroidery?
Honestly, you can use whatever you have on hand. Standard six-strand embroidery floss is a go-to for a reason; you can adjust the number of strands you use to get a different weight and texture. For a more delicate look, use just one or two strands. If you want a bold, full leaf, you might use all six. You can also play around with other types of thread like Pearl Cotton, which is a bit thicker and gives your work a different kind of sheen. It's all about experimentation!
Q: How do I make my leaves look more realistic?
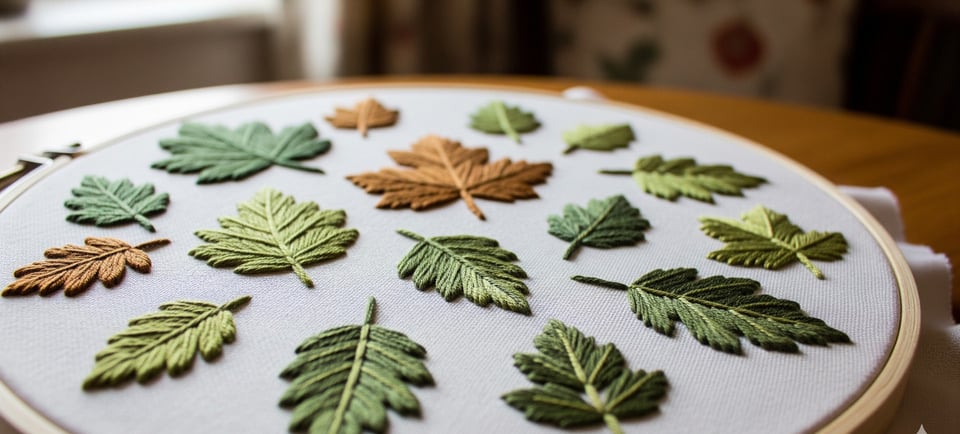
This is where you get to be an artist. Start by observing real leaves. Notice how the colors aren't uniform. A leaf might be bright green at the top and a darker, more yellow-green at the bottom. You can recreate this by blending different shades of floss, either with Long and Short Stitch or by simply using different colors in the same area. Also, consider adding a vein with a simple backstitch or a contrasting thread color. It's the small details that make a huge difference.

My Go-To Stitches for Filling Leaves
Now for the good stuff. Let's talk about some of the most popular stitches for filling in those lovely leaf shapes.
The Fishbone Stitch.
Oh, the fishbone stitch. This one is a total game-changer, I swear. It’s perfect for creating a beautiful, built-in central vein, which gives your leaf so much character and a lifelike quality. The stitches overlap and cross over, creating a slightly textured and dynamic feel. The key is to start at the tip of the leaf and work your way down, making sure each stitch meets neatly at the center line. It’s a relaxing, almost meditative rhythm once you get the hang of it, and the result is just gorgeous.
The Satin Stitch
The satin stitch is the classic choice for a bold, smooth, and, well, satiny finish. It’s all about placing a series of straight stitches side-by-side to completely cover a shape. When done well, it looks incredibly polished and almost impossibly smooth. The trick? Keep your stitches neat and parallel. For larger leaves, it helps to outline the shape first with a tiny backstitch or split stitch. This gives you a nice, crisp edge to work against and makes it easier to keep your stitches perfectly aligned.
The Lazy Daisy Stitch
Don't let the name fool you. The lazy daisy stitch, which is essentially a detached chain stitch, is incredibly versatile. While it’s famously used for flower petals, it makes a fabulous, charming little leaf, especially for small, delicate designs. You can make a single teardrop-shaped leaf or group several together to create a tiny, whimsical cluster of foliage. Honestly, it's one of the first stitches most of us learn, and it's so satisfying to see how a simple loop and a tiny tacking stitch can form such a sweet little leaf.
The Long and Short Stitch
This one is a bit more advanced, but so worth the effort. The Long and Short Stitch is your secret weapon for creating beautiful shading and blending. It's often referred to as "needle painting" for a reason. By mixing stitches of different lengths and overlapping them slightly, you can transition seamlessly between different shades of green, giving your leaf a more dimensional and realistic look. It takes practice to get that smooth blend, but the effect is absolutely stunning.
The Fly Stitch
You might think of the fly stitch for creating delicate, flying insects (hence the name, right?), but it's also a fantastic way to make open, stylized leaves. A single, Y-shaped stitch can stand alone as a tiny leaf, or you can stack them to create a lovely branch of foliage. They have an airy, almost sketchy quality that is perfect for minimalist or naturalistic designs.
The Blanket Stitch
Yes, the blanket stitch. The one you learned to finish the edges of... well, a blanket. It's surprisingly wonderful for making leaves with a unique, dimensional texture. By arranging two rows of blanket stitches back-to-back with their corded edges facing each other, you can create a neat, fern-like leaf with a central vein. It's a fun, unexpected way to use a familiar stitch and gives your work a fun, tactile feel.
More Than Just a Stitch
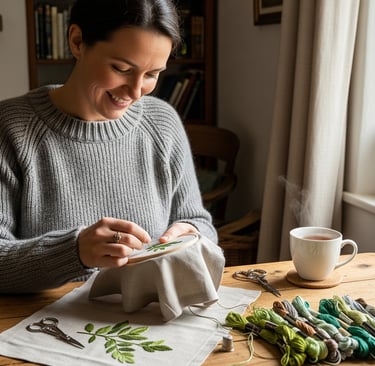
Hand embroidery is more than just a hobby; it’s a way to slow down and create something tangible with your hands. There’s something truly magical about watching a shape you've drawn on fabric slowly come to life, one stitch at a time. It's a testament to patience and a reminder that good things take time.
The next time you're feeling stressed or just need a moment to yourself, grab some fabric, a needle, and a few shades of green floss. Don’t worry about perfection. Honestly, the most interesting pieces are the ones with a little bit of personality. Embrace the slight imperfections and let your hands do the talking. You might be surprised at the beautiful, uniquely human-like leaves that bloom from your hoop.