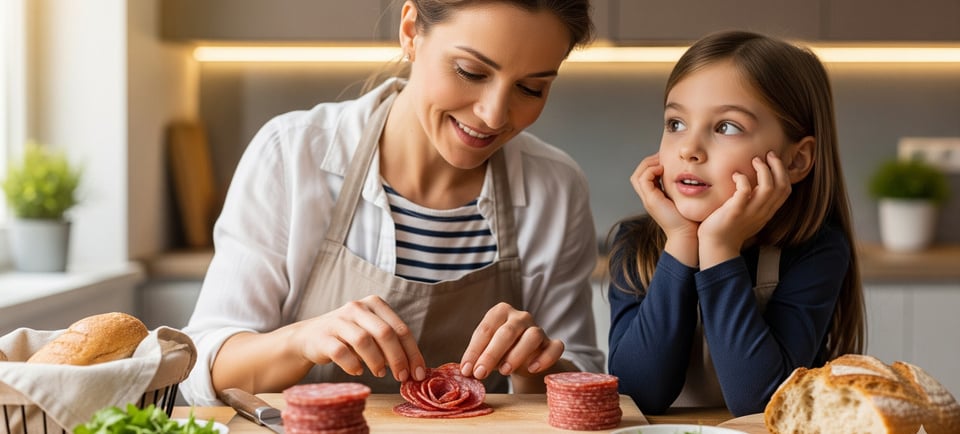
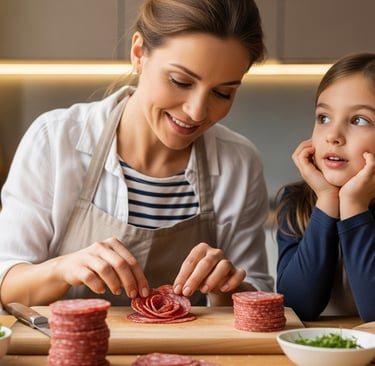
Making Salami Meat Flowers So Your Charcuterie is Blooming
Elevate your charcuterie board into a stunning work of art with the simple, viral trend of creating salami flowers and meat roses. This guide will show you how to easily craft beautiful, edible blooms that will instantly impress your guests. Transform your next platter from a simple snack to a show-stopping centerpiece and a guaranteed conversation starter.
9/13/20255 min read
You know that feeling when a friend shows up with an absolutely stunning bouquet of fresh flowers, and it just instantly brightens the whole room? Well, what if I told you that you could have that exact same feeling—but on your cheese board? I know, it sounds a little wild, but trust me on this one. We’re talking about salami flowers and meat roses, and they're the edible blooms that have everyone talking.
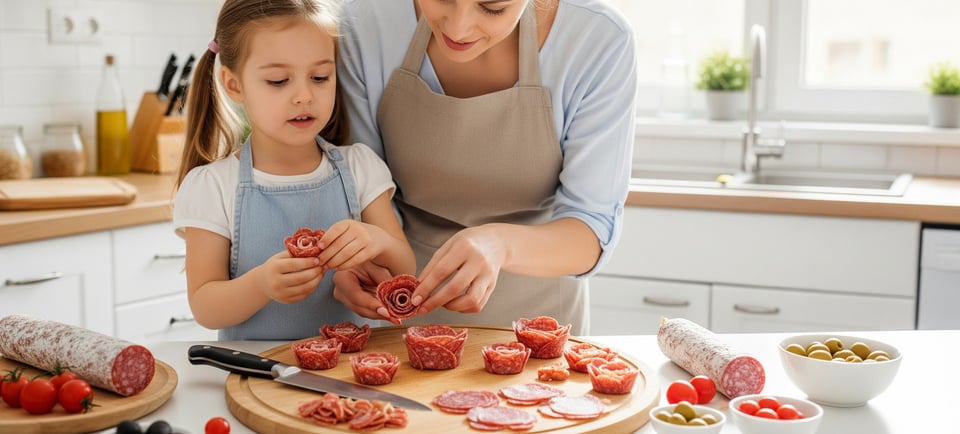
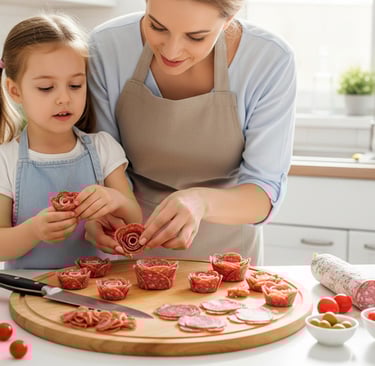
Honestly, the whole charcuterie board game has changed. It used to be about just arranging a bunch of stuff on a platter. And don’t get me wrong, that’s great! But with a little trick I’m about to show you, you can elevate your spread from just a snack to a full-on work of art. It’s a little bit of a surprise, and that's the point, right? It makes your guests do a double-take, a little gasp, and then they can't wait to grab a piece. It’s not just food; it's a conversation starter.
Why Bother with a Meat Bouquet?
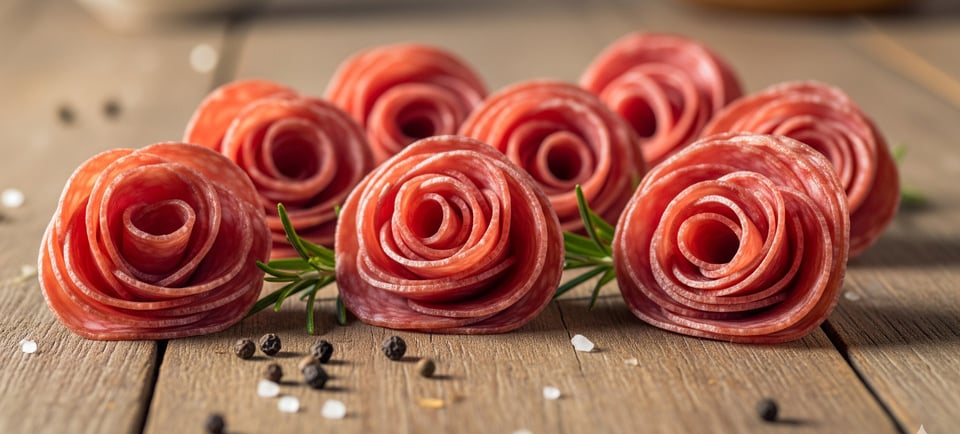
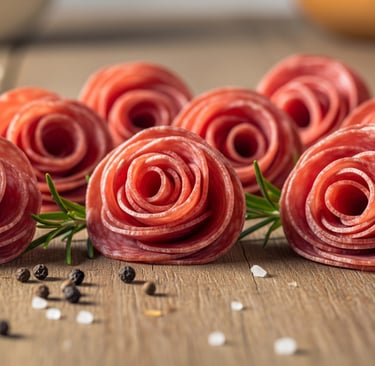
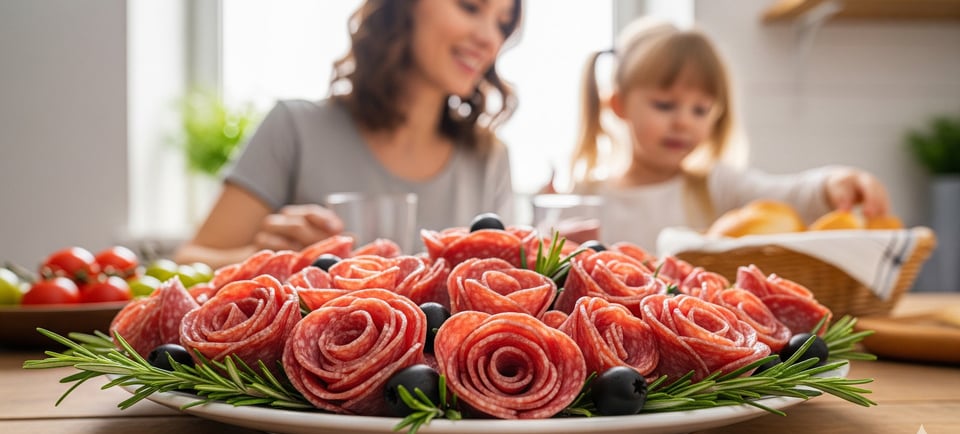
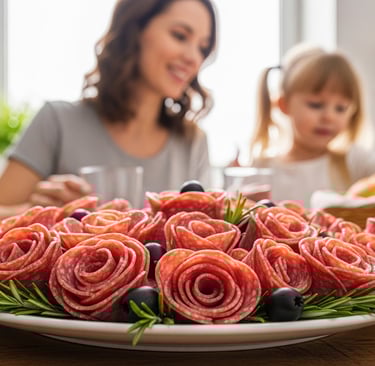
At its core, it’s all about creating an experience. Think about the joy of a perfect gift or a well-timed delivery of flowers. This is the food equivalent. It’s showing your guests you cared enough to add a personal, creative touch. The classic look of a perfectly styled charcuterie board is already a feast for the eyes, but adding a few savory floral arrangements—a big, beautiful salami rose here, a cluster of smaller pepperoni flowers there—turns it into a true showstopper. Plus, it's just plain fun to make. You get to play with your food a little, which, let's be real, is always a good time.
You might be thinking, "What kind of fancy chef magic is this?" And that's the beauty of it: it's not magic at all. It’s actually ridiculously easy. So easy, in fact, that it’s become a viral sensation, and for good reason. There are two main ways to make them, but one is so simple you'll wonder why you didn't think of it yourself. It’s a little bit like the difference between creating a massive, hand-tied floral arrangement and just dropping a few sunflowers into a vase. Both are beautiful, but one takes a whole lot less effort.
Making Meat Flowers FAQs
Before we get into the nitty-gritty, let’s tackle a few burning questions. I know you've got them.
What kind of meat works best for making meat flowers?
The short answer? Thinly sliced, cured, and flexible is the name of the game. Hard salami, pepperoni, and even some forms of chorizo are your best friends here. You want a meat that’s firm enough to hold its shape but pliable enough to bend without cracking. Skip the floppy stuff like sliced turkey or ham from the deli counter; they just won't give you that nice, full petal look.
Can I make these ahead of time?
Yes, you absolutely can! If you’re getting ready for a big party, you can make your meat flowers a day or two in advance. The key is to store them properly. Just pop them in an airtight container in the fridge. When you're ready to build your board, just take them out and arrange them. It's a lifesaver when you're short on time.
What if my meat flower falls apart?
This is a super common problem, and it usually comes down to one of two things. Either you didn’t use enough slices to create a tight-enough "bud," or you didn't press the slices firmly enough around the glass. Don't worry, it happens to everyone. Just scoop up the meat and try again. It's all part of the learning curve!
The Glass Method: Your New Best Friend for Making Salami Flowers
Okay, let's get into the how-to. This is the most popular way to create your own charcuterie board flowers, and for good reason. It’s a trick that anyone, from a seasoned host to a complete beginner, can master in minutes.
What You'll Need:
Thinly sliced salami (or another round, firm meat). The thinner the better!
A glass of your choice. A wine glass, champagne flute, or even a shot glass works perfectly, depending on the size of the flower you want to create.
Step 1: The Initial Fold
Pick up a single slice of salami. Place it on the rim of your glass so that it’s folded exactly in half over the edge—one half hanging on the inside of the glass, the other half on the outside. Give it a gentle press to make it stick.
Step 2: Start Layering Your Petals
Now, grab another slice. Overlap it with the first one by about half, and repeat the folding motion. Keep doing this, moving around the entire rim of the glass. You’ll see a beautiful, ruffled first layer of petals begin to form. It's really quite pretty, almost like you're hand-crafting each and every petal.
Step 3: Building a Fuller Rose
Once you’ve gone all the way around the glass, you'll have a single, lovely layer. If you want a fuller rose, you can add another layer. Just start from the same spot, overlapping the pieces you've already laid down. This second layer will sit a little higher, giving your rose more volume and depth. The more layers you add, the fuller and more dramatic your meat flower will be. It's all up to you and the look you’re going for!
Step 4: The Big Reveal
This is the grand finale, the moment of truth. When your glass is full of beautiful, layered deli meat, gently place your hand over the top of the glass. Now, carefully and quickly, flip the glass over onto your charcuterie board. Give it a little wiggle, and then slowly lift the glass away. Ta-da! What you’ll see is a perfect, upright salami rose sitting right on your board, ready for its close-up. It's an instant centerpiece.
A Little Tangent on Making It Your Own
One of the things I love about charcuterie board flowers is how much you can play around with them. You can use a smaller glass like a champagne flute to create tiny, delicate rosebuds, perfect for filling in little gaps on your board. Or, grab a big, wide wine glass and create one massive, showstopping rose to be the centerpiece. You can even mix and match, creating a whole garden of different sized salami roses.
And why stop there? You could add a sprig of fresh herbs like rosemary or basil right at the base of the flower to act as "leaves." It's a small touch, but it really makes the whole thing look more authentic. It's like adding a little garnish to a cocktail—it's not necessary, but it certainly makes it better. For me, that's what makes a good host a great host. The small things, the little thoughtful details. They show that you’re not just providing food, you’re creating an experience.
Honestly, here's the thing: people remember the feeling, not just the food. When your guests walk up to a board and see these beautifully sculpted meat roses, they'll be impressed. They'll ask how you did it, and you can just smile and say, "Oh, it was nothing!" But you and I will know the truth. You created a moment, a memory, and a really, really delicious centerpiece.